Windows Application Information, Security Rating and Removal Guides
Windows Application Information, Security Rating and Removal Guides

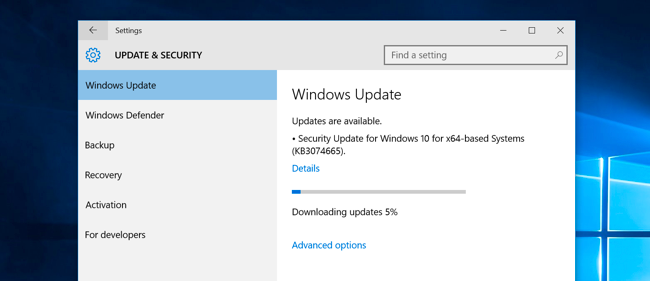
People who used the Windows 8 and Windows 10 before must had experienced the automatic and force update for the OS, which bring a lot of inconveniences and troubles. And now, the situation has been improved significantly, and Microsoft has been change the Windows update and allow people to manage the update installation by themselves. So now, let’s see how many ways you can take to manage the Windows 10 update on the computer.
Current version of Windows 10 allows the user to set active hours, which can tell the Windows system when you are using or working on the computer, during these active hours, the Windows won’t restart the computer after installing updates at the background.
When there are new updates available on your PC, you will see a notification from Windows 10 Creators Update, which provides three options for the update installation: Restart now, Pick a time and Snooze. And then you can choose the time you would like to install the update.
Restarting computer after installing the update is a necessary and indispensable step to complete the Windows update, if you don’t want to reboot the PC after the update, you can change the restart time via changing the associated settings Windows.


Comments
Leave a reply