Windows Application Information, Security Rating and Removal Guides
Windows Application Information, Security Rating and Removal Guides

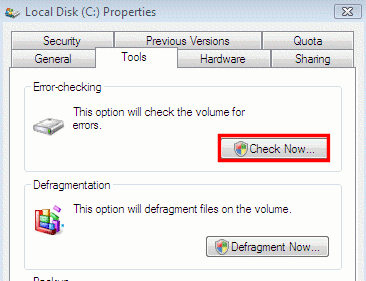
Computer system reporting error is always a headache for many common users, and the problems in hard drive are often the causes of these annoying errors on the computer. To find out the specific reason of the error and figure it out, Check Disk utility provided by the Windows OS will be a very useful tool for you, and here is how to check disk errors with this utility on computers with Windows 10 operating system.
Check Disk utility, also known as “chkdsk”, it has been attached in the Windows based computers for more than 30 years, it is a powerful tool to check your disk errors via scanning the whole hard drive, and then you will be able to fix the detected problems inside with ease, and more importantly, it is free to use for everyone, so, it will be very helpful if you know how to use this utility on your PC, especially when you encounter an issue with your hard disk.
There are many problems and issues would cause the errors on the system, so the Check Disk utility cannot fixing all the error codes effectively, however, it is a good assistant to help you troubleshoot the hard disk errors, and thus prevent bigger problems in the future and loss of important data in the system.


Comments
Leave a reply